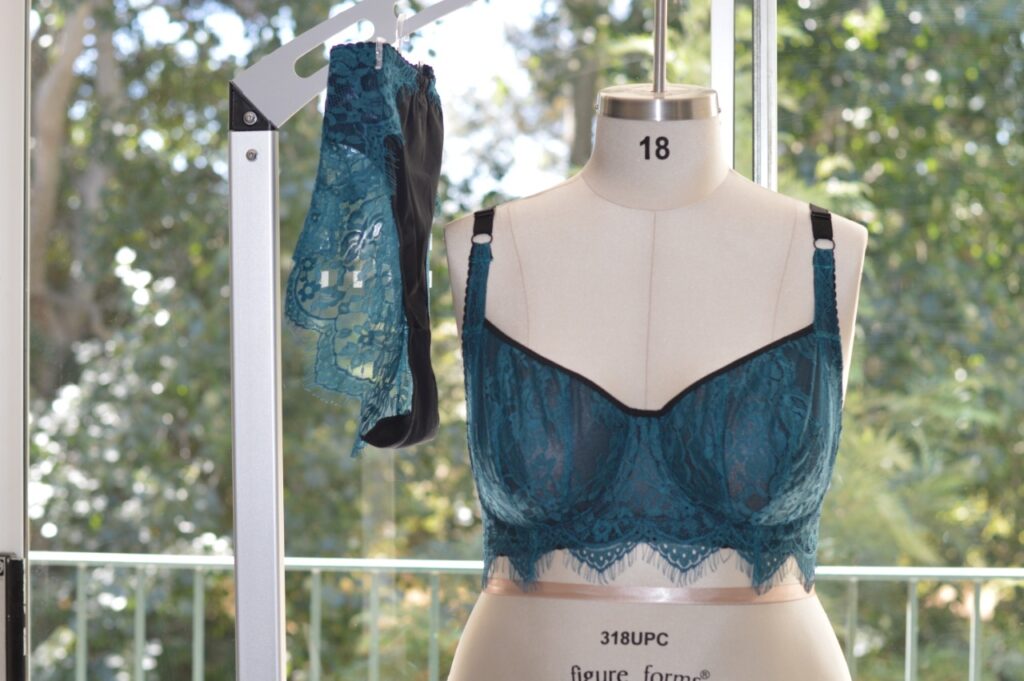

Bra Pattern: AFI Exquisite Bra
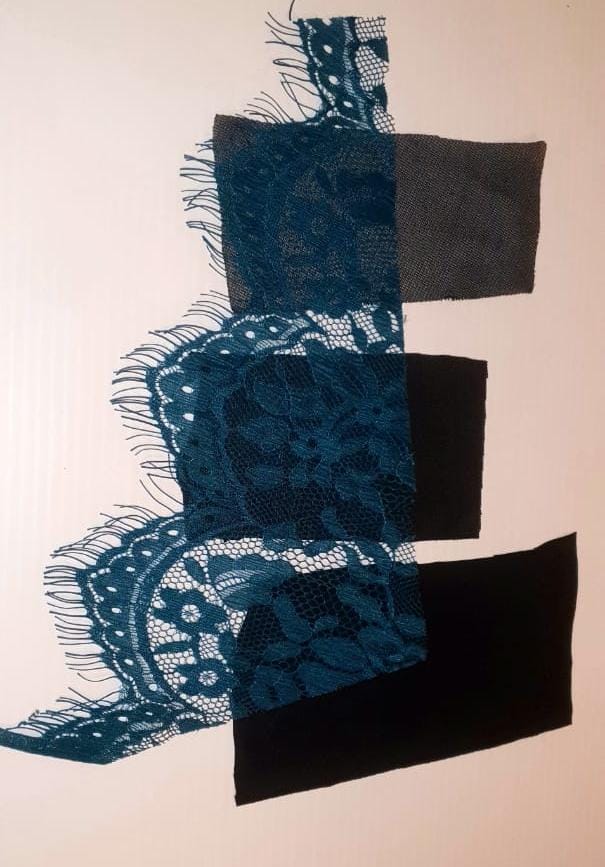
Fabrics: Power net/mesh (in store) , Green medium stretch scalloped lace, black sheer lining, black 4way stretch fabric
Findings: 18mm black strap elastic, 18mm black rings and Sliders, 4×2 black hooks and eyes, 15mm blackfold over elastic, black picot elastic (14mm and 20mm).


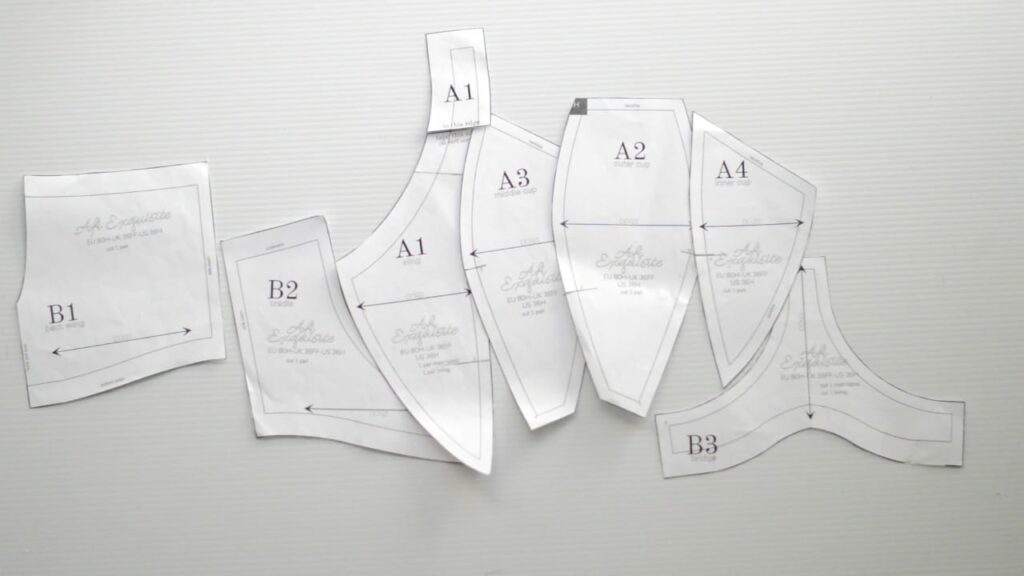
The AFI exquisite pattern comes with easy enough instructions to follow which I used for the first bra and I did a few alterations to for the second view. The alterations were to make the bridge and cradle straight at the bottom because scalloped lace only follows a straight line. I extended the bottom of the back band piece by 20 mm which is the width of the elastic, when sewn, it aligns with the scalloped edge where it dips. Straighten the cradle and bridge by removing the seam allowance following the lowest point of the seam line. There’s no need to add seam allowance again unless you want to lengthen the lace of which you’d need to do the same for the back band otherwise it will not match up when sewn.

After making these alterations, follow the pattern instructions. The only difference will be application of the band elastic which will be applied flat without turning on the lace and applied normally with the turning method on the back bands. application of the underwire, straps and hooks and eyes stays the same as the instructions.

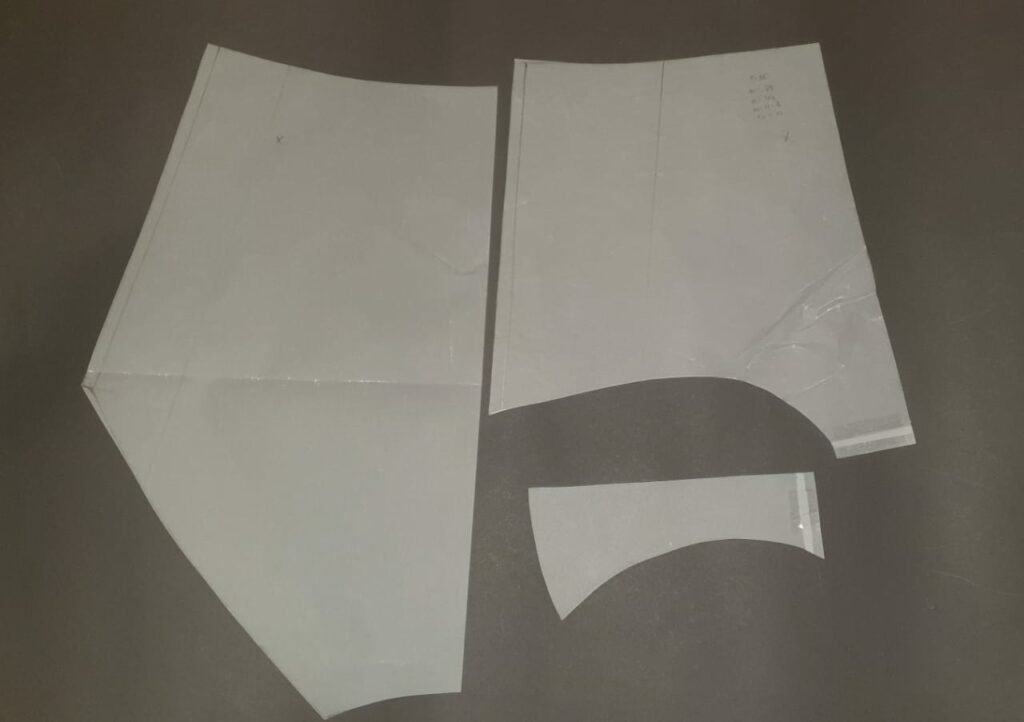
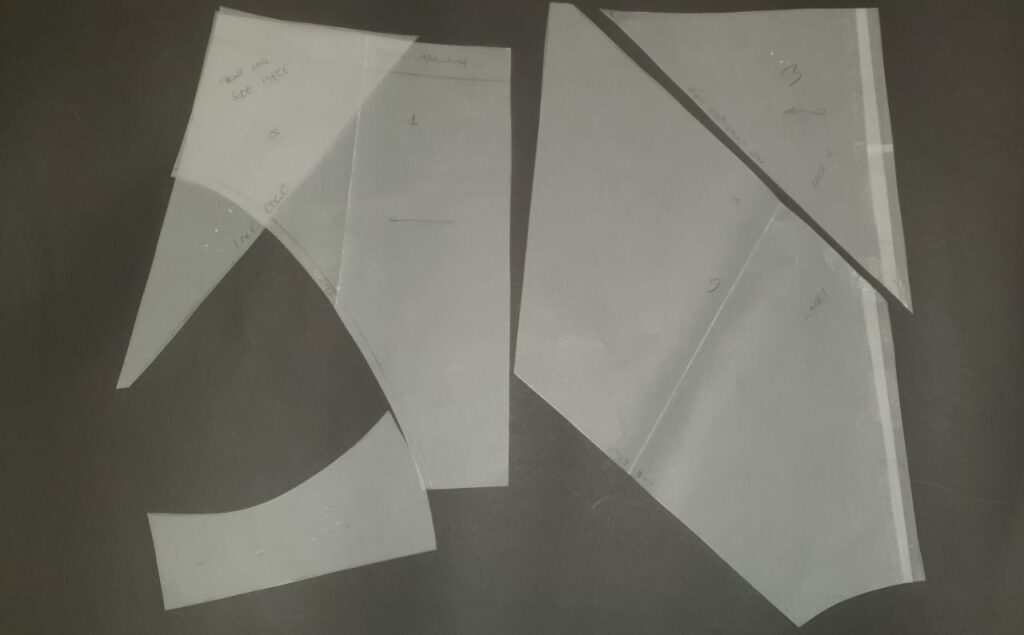
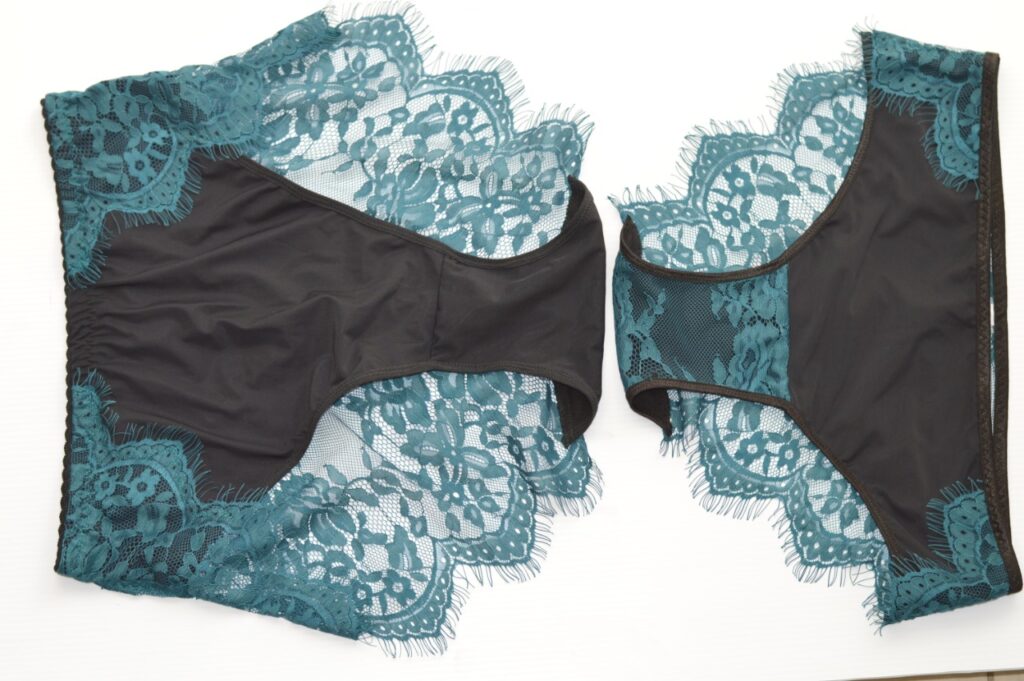
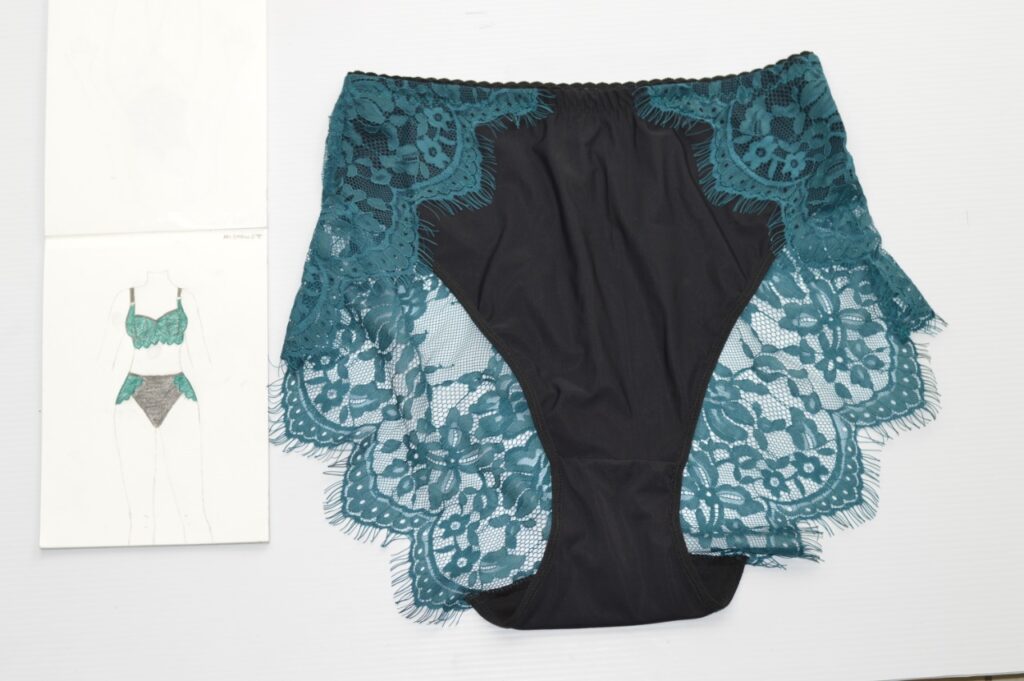
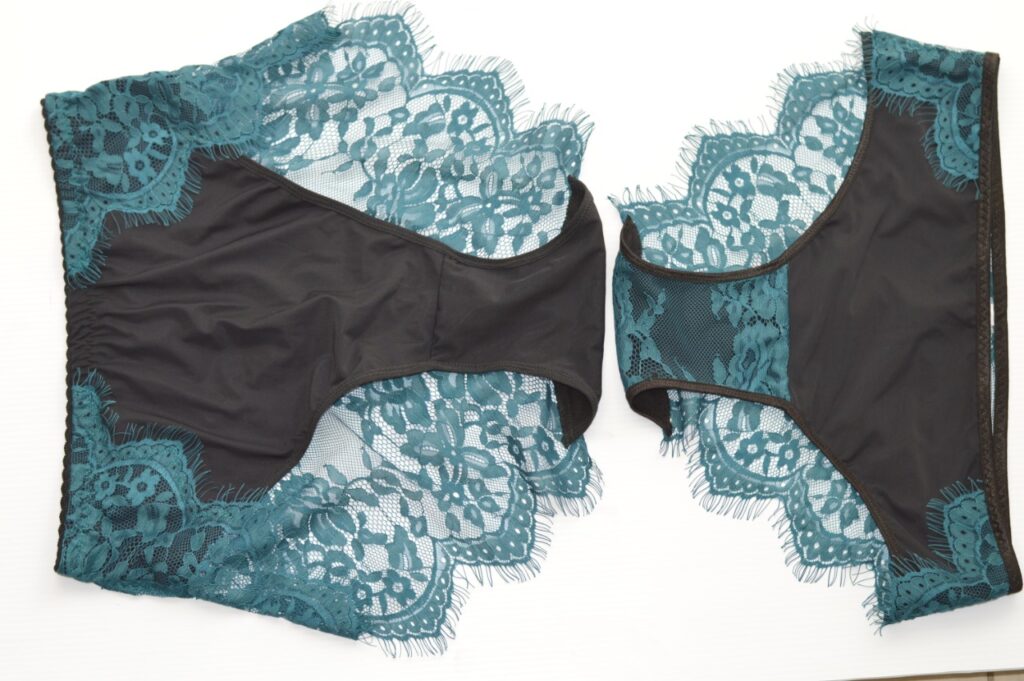
The back pattern piece was cut into two pieces to fit the lace, the front pattern piece was raised at the leg by half of its length and an additional front panel was added for the front lace piece. The front and gusset are made from 4 way stretch fabric and cotton on the gusset. The back is all lace with the scalloped edge left raw.
After cutting all the pattern pieces from the respective fabrics (ensure that the lace is mirrored for a flawless appearance when the panties are sewn), the gusset pieces were attached to the front piece and the leg holes sewn with fold over elastic before attaching the lace back piece. It was done in this manner because the back piece will not require leg hole elastics. The side seams were then sewn enclosing the front lace piece which gives the illusion of the back lace piece extending to the front of the panties. With a zig zag stitch, sew over the front lace and stretch fabric to keep it in place along the scalloped edge and finally attach the band elastic with a zig zag stitch and your panties are complete.
Comment all your questions and I will get back to you as soon as possible. Thank you for engaging with my blog. Happy sewing!


Keep up with your good works..I am really in love with your products,very neat and comfortable too
Thank you.
Sorry I am failing to see the prices…
Hi, all product prices are listed in the store on each product. Did you click on the categories you’re interested in to see the products?
whoaһ this bloɡ is excellent i love studying your posts.
Stay up the great work! Үou ᥙnderstand, lots of individᥙals are searching around fߋr this information,
you can help them greatly.
Thank you, feel free to recommend it to others.
I was extremely pleased to find this page.
I need to to thank you for your time just for this fantastic
read!! I definitely savored every little bit of it and I have you book-marked to check out new stuff in your web site.